So alot of people are wondering what happened to Windows 9?
Initially there was a theory that Microsft avoiding the "9" title due to possible issues with the programming language relating to previous Windows 95 or 98. Again...that was just a theory.
The official word from the Redmond software giant is that "Windows 10 is not going to be an incremental step from Window 8.1," he explained. "Windows 10 is going to be a material step. We're trying to create one platform, one eco-system that unites as many of the devices from the small embedded Internet of Things, through tablets, through phones, through PCs and, ultimately, into the Xbox." according to Tony Prophet, Microsoft's corporate vice president.
So MS is trying to distance itself from the unpopular Windows 8.
Downloading Windows Technical Preview
You can download the preview here, However a word of caution. Once you install the operating system, you cannot go back to Windows 8 without re installing.
That being said it's highly recommended to install this on a secondary computer which you don't have any valuable files you don't want to lose.
But the most obvious bit of advice here, of course, is: Back up first, and create a recovery disk. In Windows 7, you will use Windows Backup for both. In Windows 8.x, you may need a third party utility, though that Windows 7 backup is there too. (Search for File History and then click "System Image Backup" in the lower-left corner of the File History control panel.) Search for "recovery drive" to create a recovery drive.
Getting Started
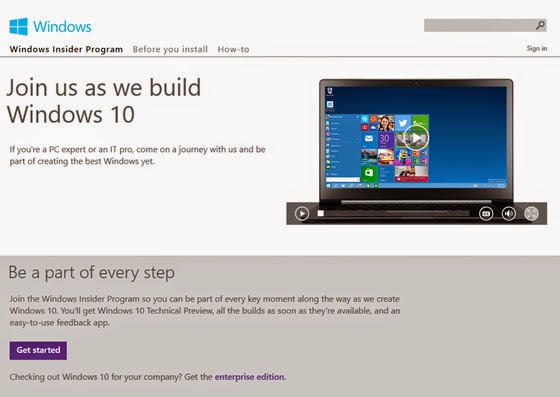
To install the Windows Technical Preview, you need to join the Windows Insider Program. So head on over to the Windows Insider Program web site and click the Get Started button.
If you're not sure which one to get, you can see which version you're currently using by right clicking 'My Computer' and clicking Properties. this will display your version of Windows. It will say "64-bit Operating System, x64-based processor" for 64-bit and "32-bit Operating System" otherwise. You will need the same type of OS version, especially if you're upgrading.
The ISO files are large, 3-4GBs. There's a few ways to install this on your system. Either by DVD, a USB drive or via a 'Virtual Machine' such as sandbox.
If you decide on the DVD or USB route copy it onto a USB or DVD.
When you're ready to install Windows Tech Preview, insert the USB drive or DVD with the ISO file on it and then run Setup.exe from the root folder on the drive.
The Installation
 |
| Win Tech Preview Licencing Agreement |
 |
| Win Tech Preview Ready screen |
After Setup examines your system, you have one big choice to make. This screen assumes you wish to perform an in-place upgrade in which your current OS is upgraded to Windows Technical Preview, retaining all of your desktop applications and apps, and their settings, your OS settings and customization's, and your data.
 |
| Win Tech Preview Choices screen |
Keep Windows settings, personal files, and apps. The default, and what is called an in-place upgrade.
Keep personal files only. A migration, in which Setup backs up your documents and other data, clean installs Windows, and then returns your documents and other data to their original locations.
Nothing. A clean install, in which Setup erases your existing Windows install along with all of your settings, applications and data, and then installs a factory-fresh version of the Windows Technical Preview.
Your system will restart a few times and you will be prompted to choose between Express or Customer settings. I would recommend Express settings as they are configured for the basic Windows configuration. The next screen you will need to log into using your Microsoft/MSN/Hotmail account. Afterwards the screen will flash a few colors and the desktop will appear with the Start Menu and all it's glory

The Start Menu is obviously larger, and it’s more personal, more organized, and more fun than before. The Start Screen which was introduced with Windows 8, remains as well, and it's easy to switch between them. Your choice.
To get to the Start menu, click the Start button Windows Start button (or press the Start key on your keyboard). Then arrange it however you’d like. Pin folders, contacts, and go-to apps. Move and resize tiles or even resize the Start menu itself.
Heya i am for the first time here. I found this board and I find
ReplyDeleteIt truly useful & it helped me out a lot. I hope to give something back and help others like you aided me.
Here is my blog; rampage site